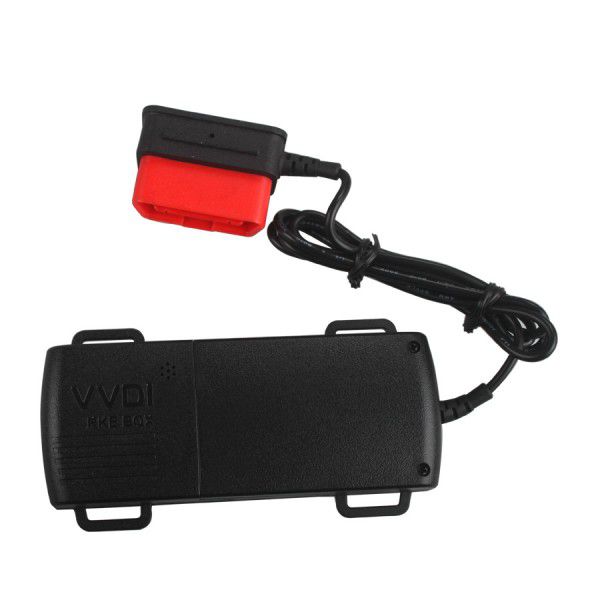
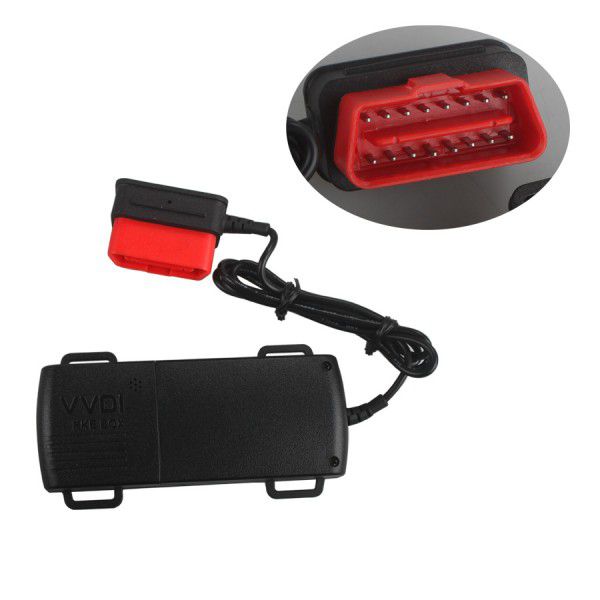


VVDI RKE BOX Remote Control Switching Box Supports 3V
1. Wiring Description
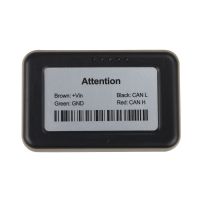
Remove the circuit boards in the original remote control, and connect to the main unit as shown in the image below (connect the white wire to buttons, red to the positive terminal, black to the negative terminal).
Note: There are 3 types of remote buttons: 2-feet, 4-feet, and 5-feet buttons.
- 4-feet and 5-feet buttons: No direction distinction, but must be soldered at the diagonals.
- 2-feet buttons: No direction distinction; solder each of the two feet separately.
Labeled components referenced in wiring diagram:
- Original remote control
- Positive
- Negative
- Remote wiring diagram
IMPORTANT: Do not reverse the power cord on the remote control.
2. Power Supply Options
To get power via OBD or 12V constant power from the car.
3. Key/Remote Matching and Clearing
Matching Steps
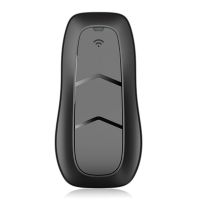
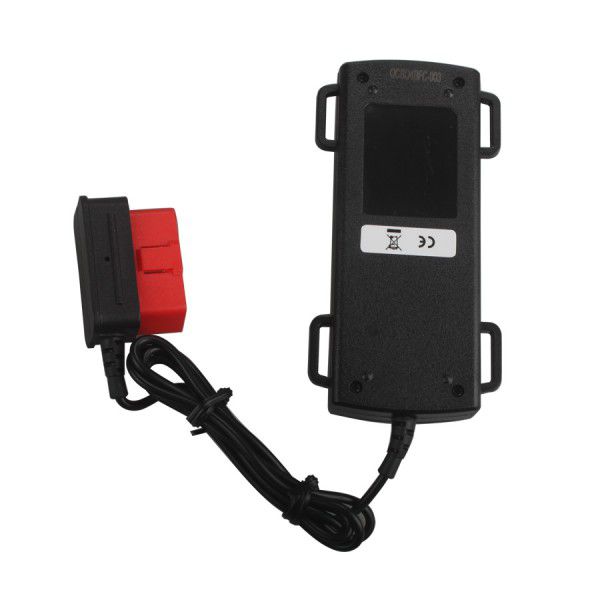
- Press the SET button on the Host box (located in the internal hole on the side of the unit). The buzzer will beep twice, indicating entry into matching state.
- Press any button on the new remote for a few seconds until the buzzer beeps continuously. Key matching is now complete.
- Repeat the above two steps to add another new key.
Note:
- Up to six keys can be matched to one Host box; matching will fail if more than six are attempted.
- If no key is detected within 10 seconds during the matching state, the buzzer will beep once and automatically exit matching mode, returning to normal operation.
Clearing Steps
- Press and hold the SET button until the buzzer beeps continuously. All previously matched keys will be cleared, returning the unit to its factory state.
Note: If a key is lost or no longer in use, you can erase all keys and then re-add only the required ones to ensure security.
Referenced components:
- Buzzer
- Key to be added
- SET button
4. Adding Key Embryo and Anti-Theft Chip to the Remote Control
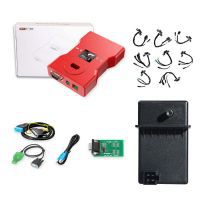
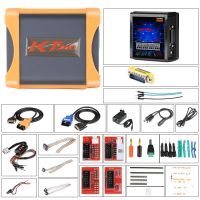
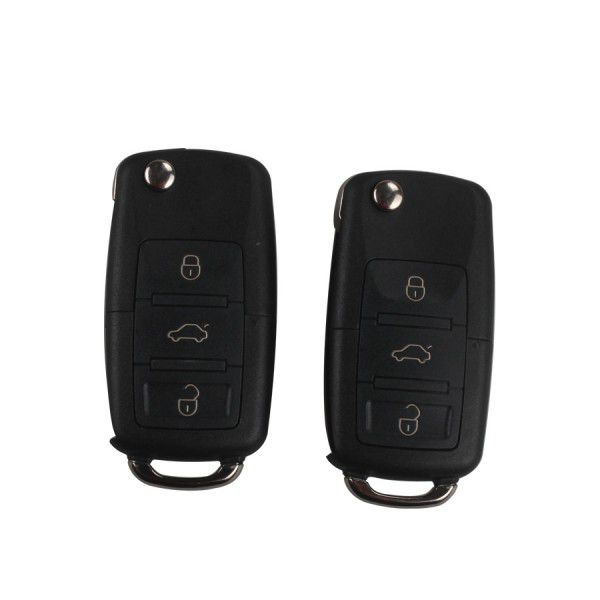
Package Includes
- 1pc × VVDI RKE BOX
- 2pc × key